How to Raise Chicks: A Step-by-Step Guide for Beginners
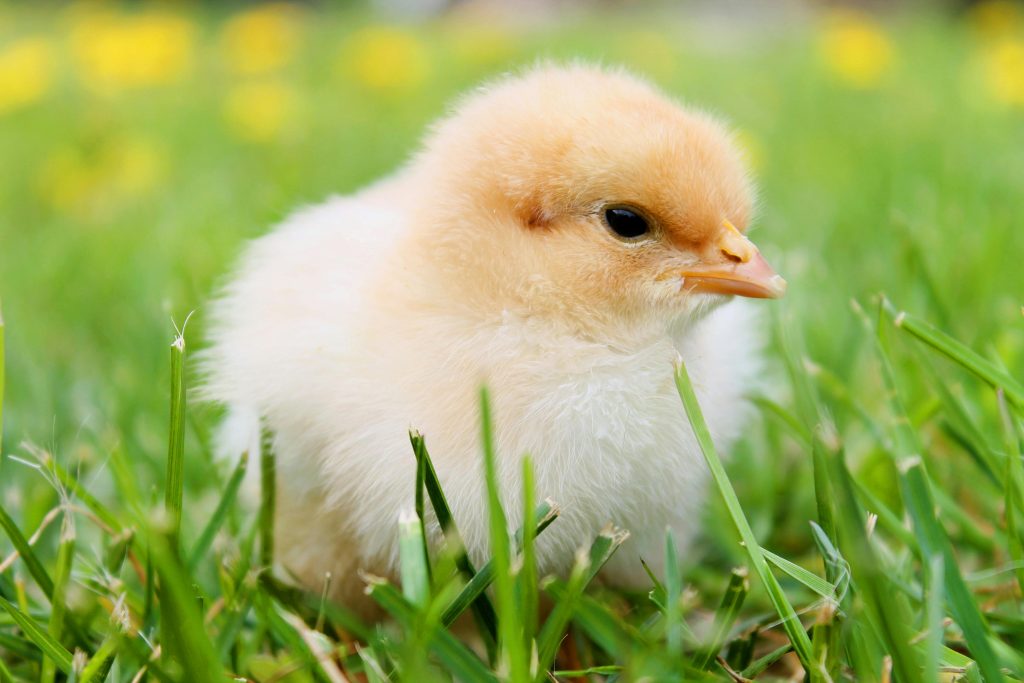
Raising chicks can be one of the most rewarding experiences for a poultry enthusiast. Whether you’re looking to expand your flock or just enjoy the process of nurturing baby birds, raising chicks from day one offers an opportunity to watch them grow into healthy, strong adults. However, caring for chicks requires attention to detail, patience, and the right environment. In this step-by-step guide, we’ll walk you through everything you need to know to raise healthy chicks, from their arrival to when they’re ready to join your adult flock.
Step 1: Prepare the Brooder
Before your chicks arrive, you need to set up a brooder—a safe, warm, and comfortable space where the chicks can grow and develop until they are old enough to move to a larger coop. The brooder will need to meet the chicks’ specific temperature, space, and cleanliness needs.
Temperature: Chicks need warmth to stay healthy. The brooder should be heated to 95°F (35°C) during the first week. Each week, you can lower the temperature by about 5°F until the chicks are fully feathered, which usually takes around 6-8 weeks.
Space: Provide adequate space for your chicks. They need room to move around comfortably, stretch their wings, and avoid overcrowding, which can lead to stress and health issues. A general rule of thumb is to give each chick about 0.5 square feet of space in the first few weeks. As they grow, you may need to increase the space.
Bedding: Use absorbent bedding like wood shavings, straw, or paper towels for the brooder floor. This helps control moisture, keeps the area clean, and prevents your chicks from slipping. Avoid using cedar shavings, as the scent can irritate their respiratory systems.
Heat Source: You can use a heat lamp, heat plate, or heat pad to provide warmth. A heat lamp is commonly used, but be sure to monitor the temperature carefully, as too much heat or cold can stress the chicks.
Step 2: Provide the Right Feed and Water
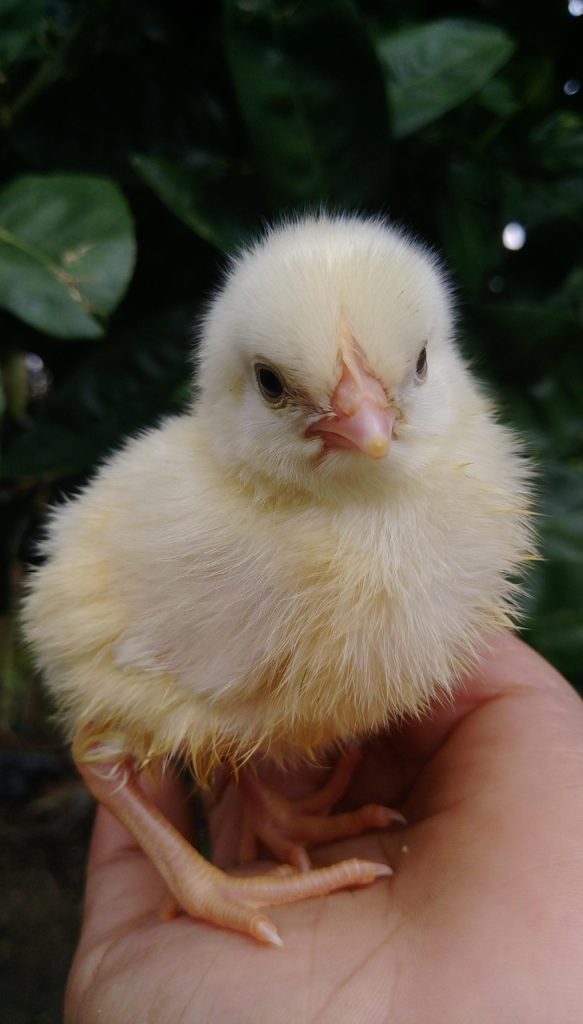
Newborn chicks require specific nutrition to grow and develop properly. You’ll need to provide the right type of chick starter feed and ensure they always have access to clean, fresh water.
Chick Starter Feed: Feed your chicks a specially formulated chick starter that is high in protein, usually around 18-20% protein content. This will support their rapid growth during their first few weeks. Avoid giving adult chicken food, as it doesn’t have the right nutritional balance for young chicks.
Water: Chicks need access to clean, fresh water at all times. Make sure the water is shallow enough for them to drink safely, but deep enough to prevent them from tipping it over. You can use small chick waterers or shallow dishes but be sure to clean and refill the waterers daily.
Electrolytes and Probiotics: If your chicks seem weak or stressed, you may want to add electrolytes or probiotics to their water for extra support. This helps boost their immune system and improve their digestion.
Step 3: Keep the Brooder Clean
Cleanliness is crucial for the health of your chicks. Make sure to clean the brooder and change the bedding frequently to reduce the risk of disease and promote a healthy living environment. Aim to remove droppings and replace bedding every 2-3 days, or more often if the brooder gets particularly dirty.
- Ventilation: Ensure the brooder is well-ventilated, as stale air can cause respiratory problems. However, be careful not to create drafts, as chicks are sensitive to sudden temperature changes.
Step 4: Monitor Their Health
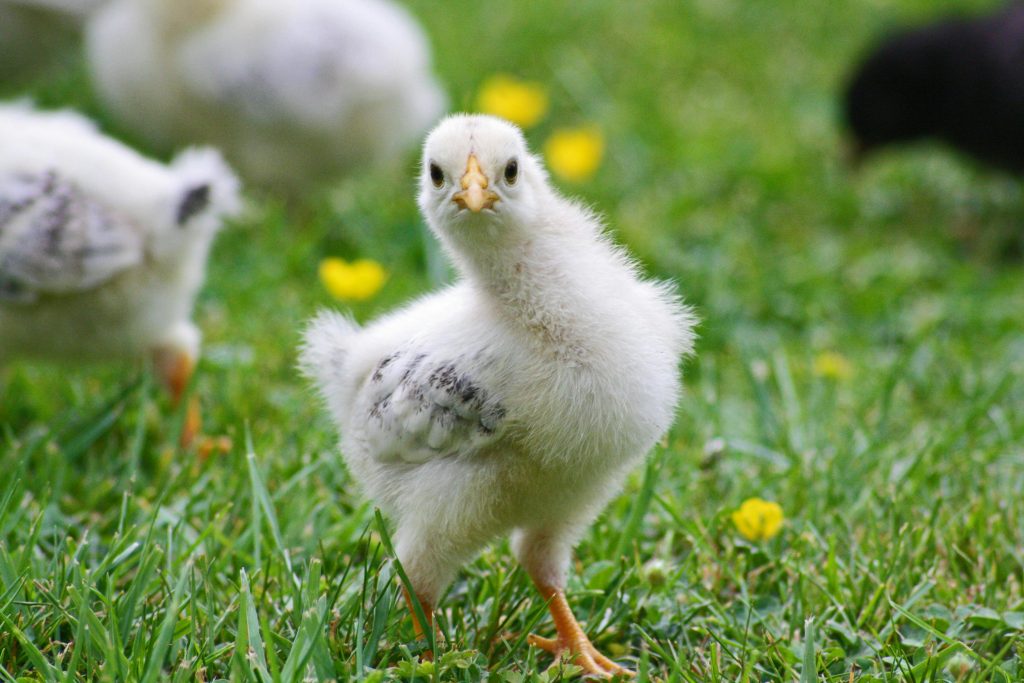
Healthy chicks are active, curious, and have bright eyes. It’s essential to keep an eye on your chicks’ development and look for any signs of illness or discomfort.
Signs of Health: Healthy chicks should be active and social, eating and drinking regularly. Their feathers should be smooth, and they should have no signs of lethargy, pasty vent (a condition where droppings stick to the chick’s rear end), or other abnormal behaviours.
Signs of Illness: Keep an eye out for any chicks that seem weak, lethargic, or have trouble standing or eating. If you notice abnormal behaviours such as excessive chirping, a lack of appetite, or unusual droppings, these could be signs of illness, and you should contact a veterinarian immediately.
Step 5: Transition to the Coop
As your chicks grow, they’ll need more space and will eventually be ready to transition from the brooder to a larger chicken coop or outdoor run. The timing of this transition depends on the chicks’ age, the weather, and their feathering. Typically, chicks can be moved outside around 6-8 weeks of age, once they are fully feathered and can tolerate cooler temperatures.
Gradual Transition: If possible, gradually introduce the chicks to the outdoors by allowing them short periods of time in a secure pen during the day and bringing them back inside at night. This helps them adjust to their new environment without causing too much stress.
Provide Heat: Even after the chicks are moved to the coop, they may still need additional heat, especially at night. If the weather is cold, provide a heat lamp or heated pad in a corner of the coop to keep them warm.
Secure the Coop: Make sure the coop is secure from predators. Young chicks are vulnerable to attacks from animals like raccoons, foxes, and even neighbourhood dogs. Ensure the coop has a sturdy door and windows and use fine wire mesh to prevent small animals from getting through.
Step 6: Socializing and Introducing to the Flock
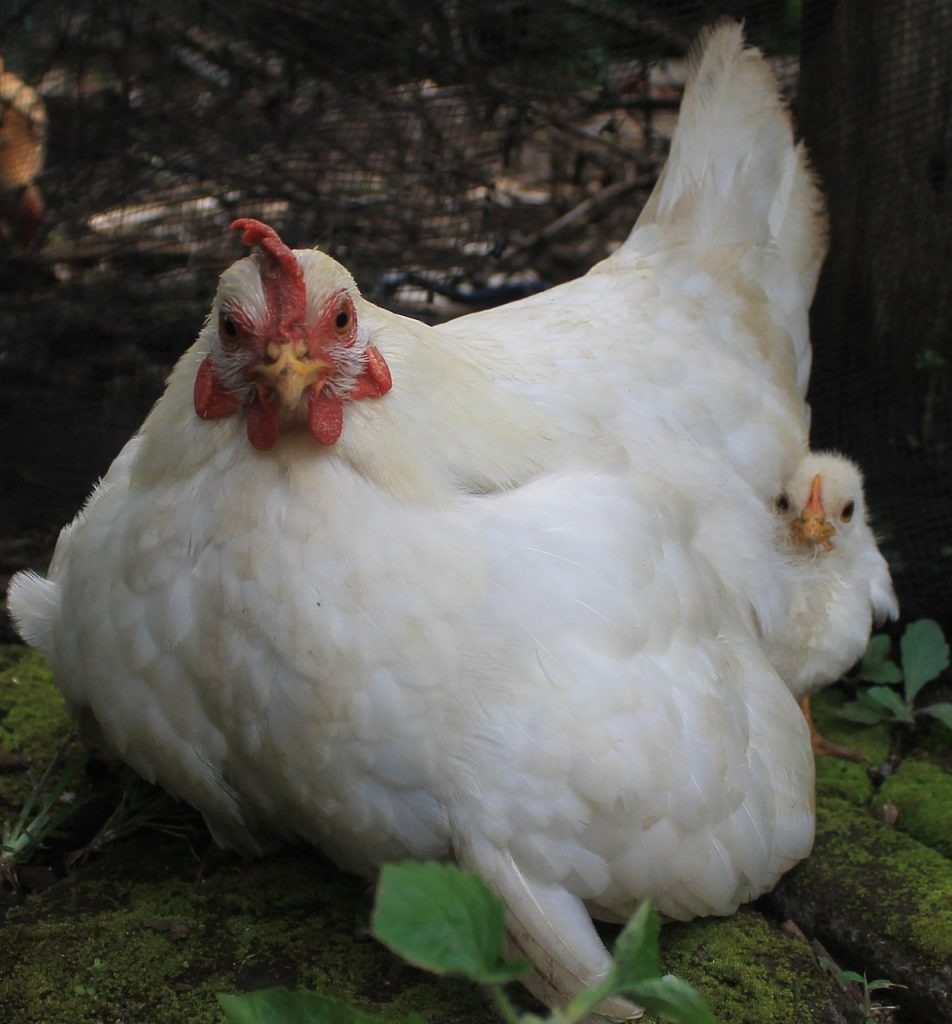
Once your chicks are old enough, you’ll need to introduce them to the adult flock. This process should be gradual to prevent aggression and stress.
Quarantine New Birds: Before introducing your chicks to the main flock, it’s important to quarantine them for at least 2-3 weeks to ensure they are healthy and free of any diseases.
Supervised Introduction: When it’s time to introduce your chicks to the adult chickens, do so gradually. You can start by allowing them to see each other through a fence or mesh, then supervise their interactions in a neutral space for short periods.
Provide Hiding Spaces: When integrating new chicks, ensure there are places in the coop where they can retreat if the adults become too aggressive. Adding extra food and water stations can also help reduce competition and stress.
Step 7: Watch for Growth and Development
As your chicks grow, continue to monitor their health and ensure they are getting the proper nutrition. They will transition to grower feed (lower in protein than starter feed) after 8 weeks and then to layer feed once they begin laying eggs, usually at around 16-18 weeks of age.
Be patient during their development—chickens mature at different rates, and some may start laying eggs earlier than others. Enjoy watching your chicks transform from tiny balls of fluff into fully-grown hens (or roosters, if you have any males in the bunch).
Conclusion
Raising chicks is a rewarding journey that requires careful planning and attention to detail. By providing the right environment, food, and care, you can ensure that your chicks grow up healthy and happy. With this step-by-step guide, you’ll be equipped to raise your chicks from day one all the way through to adulthood, ultimately expanding your flock and enriching your poultry experience. Happy chick-raising!